Print-Ready Files Explained: How to Prepare Designs for Perfect Commercial Printing Results
One of the most common reasons for delays, poor print quality, and costly reprints in commercial printing is improper file preparation. Many businesses invest heavily in marketing design but overlook the technical setup required for professional print production.
From incorrect color settings to low-resolution images and missing bleed areas, even small mistakes can create major printing problems. That’s why understanding how to prepare print-ready artwork is essential for achieving high-quality commercial printing results.
This complete print ready files guide explains the key requirements for professional print production, common design mistakes to avoid, and how proper file setup helps reduce production delays, waste, and unnecessary costs.
Introduction: Why Print Errors Happen
Print production involves far more technical precision than most digital design projects. A design that looks perfect on a computer screen may still produce poor results when printed professionally.
Common print issues include:
- Blurry images
- Incorrect colors
- Cropped text or graphics
- White borders after trimming
- Pixelated artwork
- Missing fonts
- Alignment problems
These issues typically occur because print files were not prepared according to commercial printing specifications.
Unlike digital media, printed materials require exact dimensions, proper color profiles, resolution accuracy, and production-safe layouts. Even experienced designers can encounter problems without proper prepress file setup procedures.
Understanding how commercial printers process files is the first step toward avoiding costly production mistakes.
What “Print-Ready” Actually Means
A print-ready file is a digital file that has been fully prepared according to commercial printing requirements and can move directly into production without additional corrections.
A properly prepared print-ready file includes:
- Correct dimensions
- High-resolution images
- CMYK color settings
- Proper bleed and trim setup
- Embedded or outlined fonts
- Correct file format
- Safe margins
- Flattened transparency when necessary
Commercial printers use print-ready files to ensure materials reproduce accurately and consistently during production.
Without proper setup, printers often need to manually adjust client artwork, which can:
- Delay production timelines
- Increase costs
- Introduce errors
- Reduce print quality
A professional print ready files guide helps businesses avoid these issues before files reach the printer.
Key Requirements for Professional Print Files
Successful commercial printing depends on several technical requirements that ensure files reproduce accurately on press.
Print File Resolution Requirements
Resolution refers to the detail level within an image and is one of the most important factors in print quality.
For professional printing:
- Standard print resolution should be 300 DPI (dots per inch)
- Large-format printing may use lower DPI depending on viewing distance
- Web-resolution images (72 DPI) are usually too low for commercial printing
Low-resolution images often result in:
- Blurry graphics
- Pixelation
- Poor image sharpness
- Unprofessional appearance
Meeting proper print file resolution requirements ensures crisp, high-quality printed materials.
CMYK vs RGB Printing
One of the most common print setup mistakes involves incorrect color modes.
RGB Color Mode
RGB (Red, Green, Blue) is designed for digital screens such as:
- Websites
- Mobile devices
- Monitors
- Social media graphics
RGB colors often appear brighter on screens because they use light to display color.
CMYK Color Mode
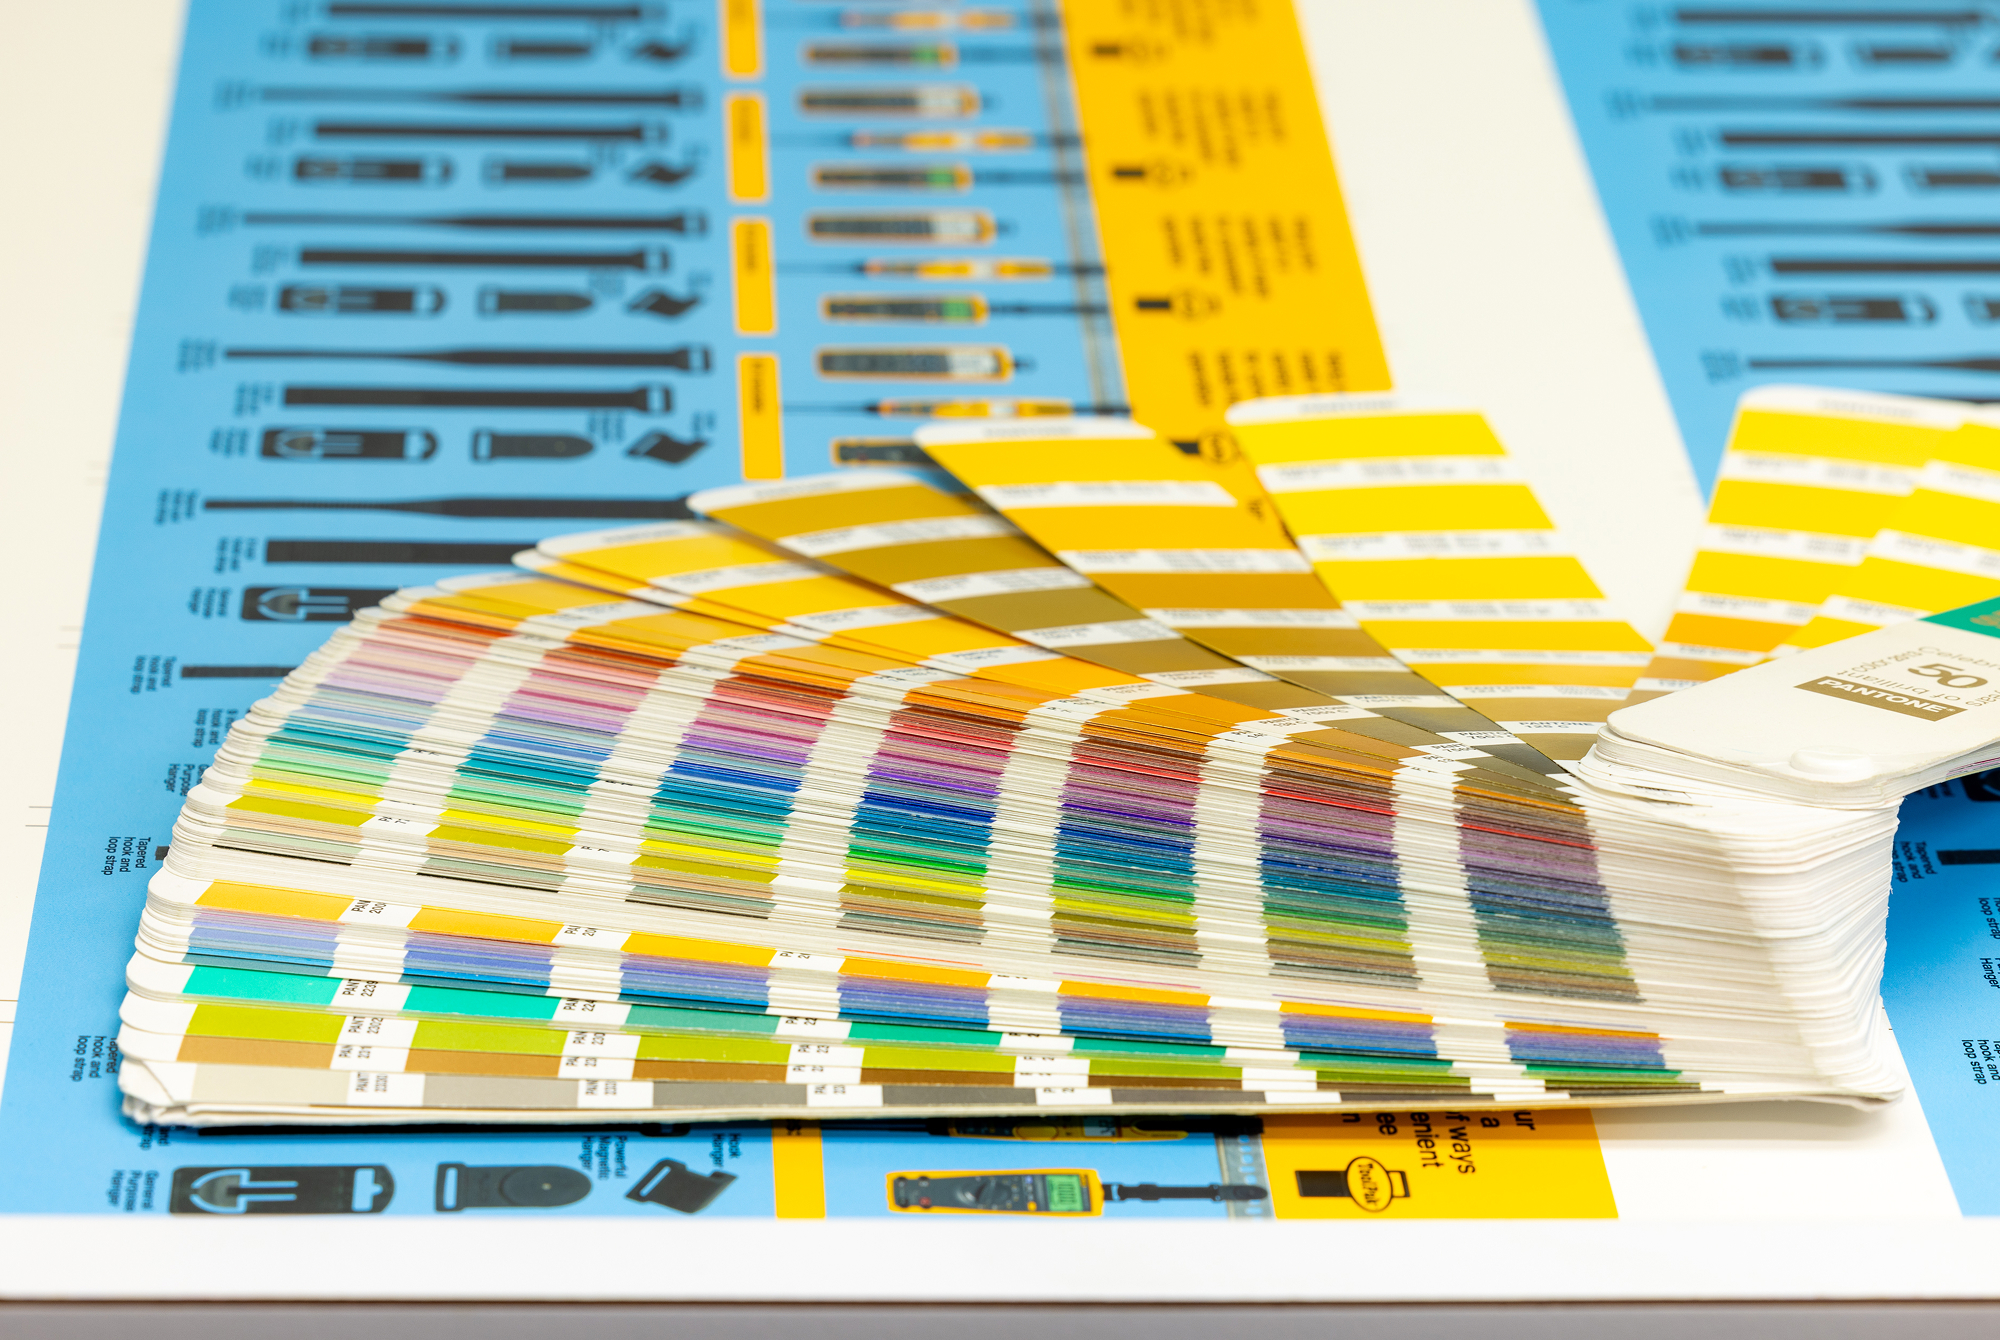
CMYK (Cyan, Magenta, Yellow, Black) is the standard color model used in commercial printing.
Because printed materials use ink rather than light, RGB colors may shift significantly during printing if not converted properly.
Understanding CMYK vs RGB printing is essential because:
- RGB files can produce unexpected color changes
- Bright neon tones may appear dull in print
- Brand colors may lose accuracy
Professional print files should always be converted to CMYK before submission unless the printer specifies otherwise.
Bleed and Trim Setup Printing Explained
Another critical part of file preparation is understanding bleed and trim settings.
What Is Bleed?
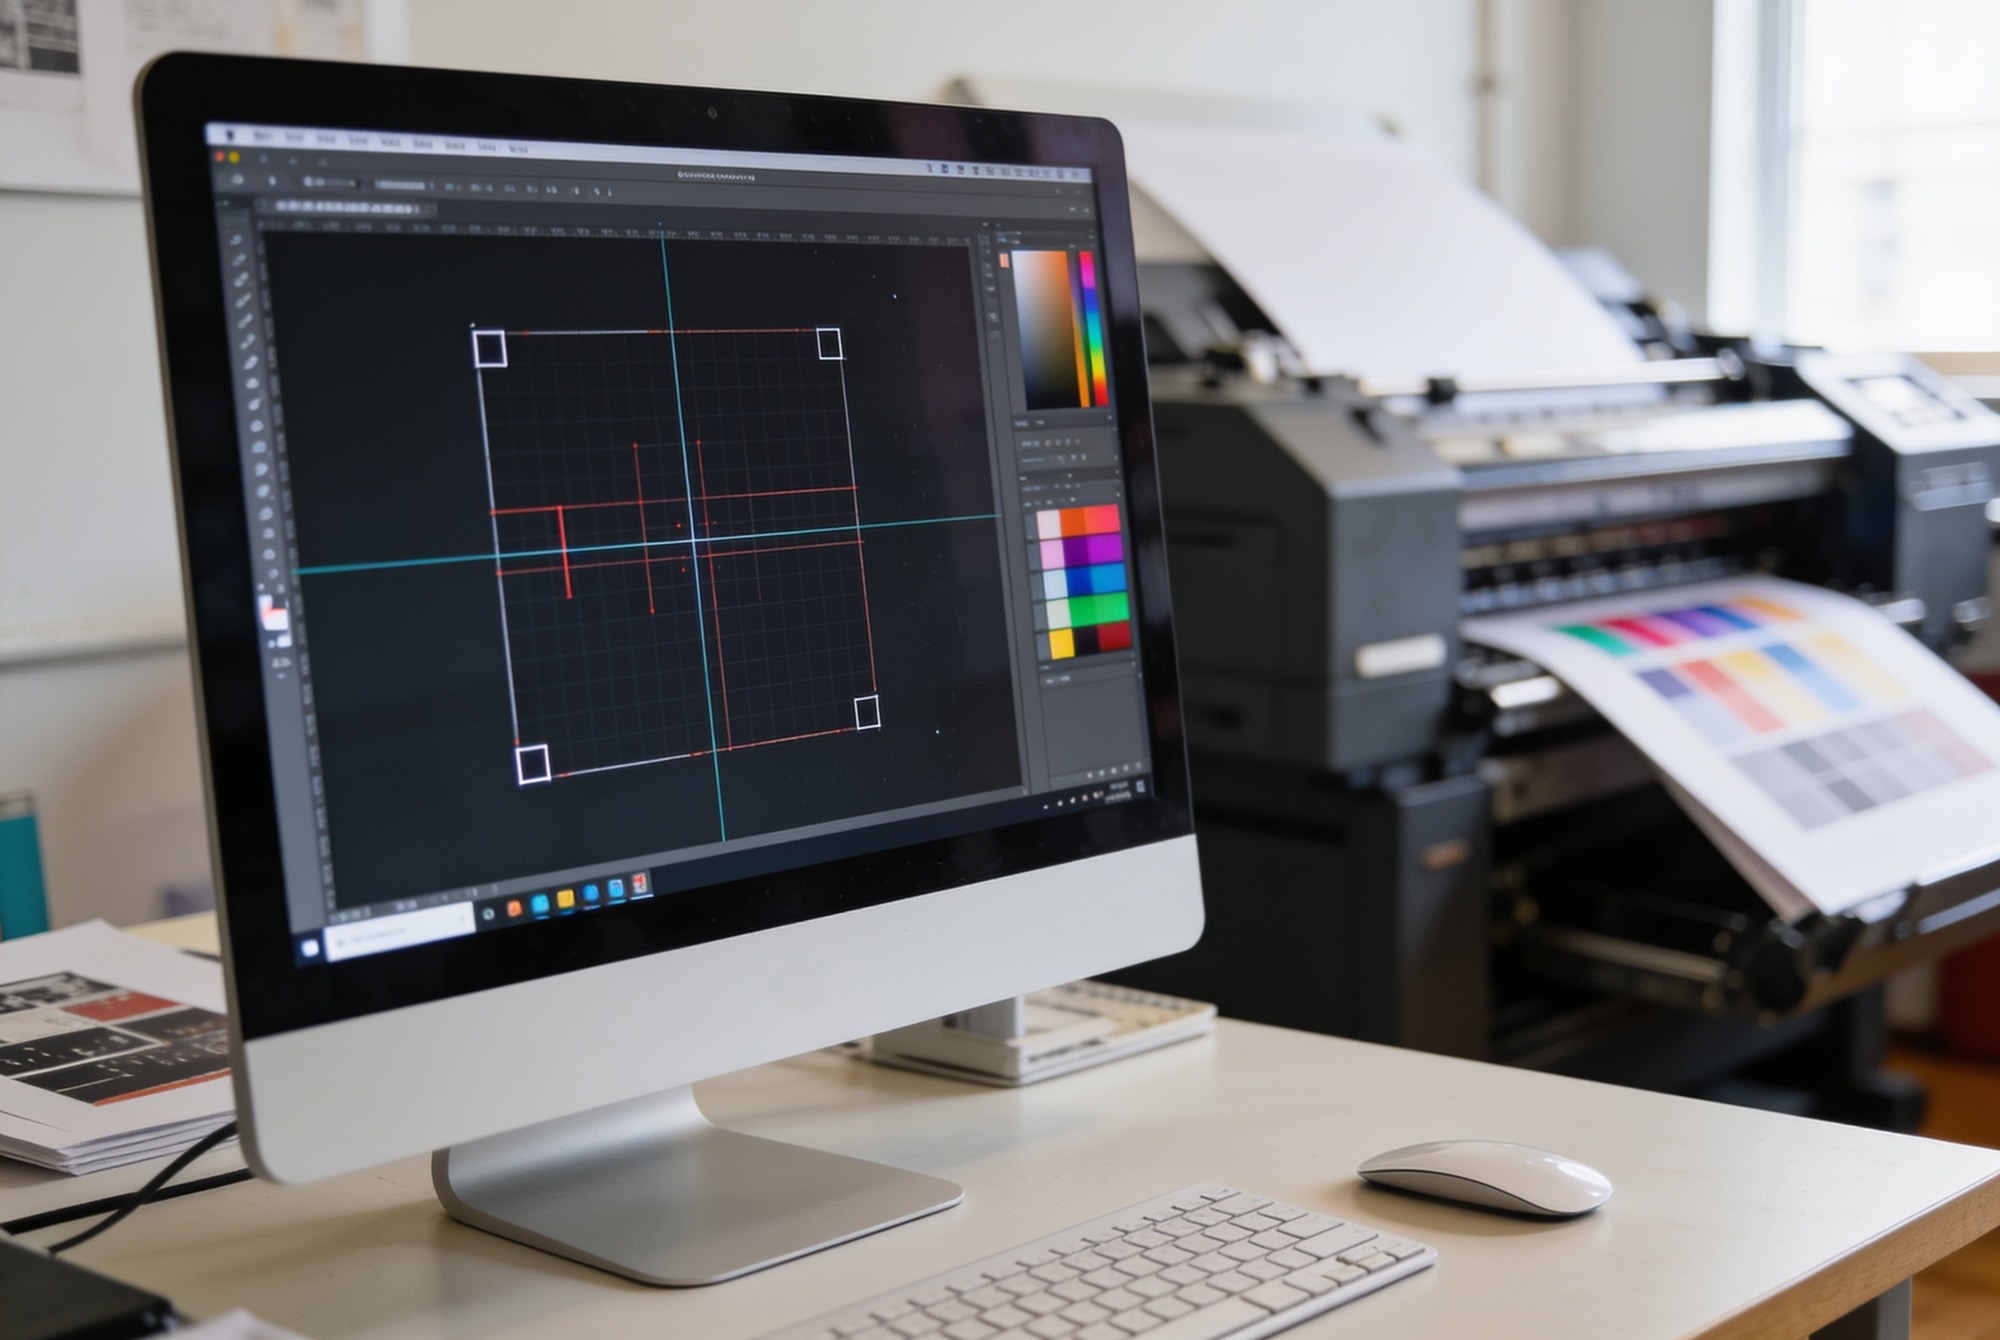
Bleed is the extra design area that extends beyond the final trim size of a printed piece.
Most commercial printers require:
- 0.125-inch bleed on all sides
Bleed ensures that color or graphics extend fully to the edge after trimming.
Without proper bleed:
- White edges may appear
- Designs may shift during trimming
- Final prints may look unprofessional
What Is Trim Size?
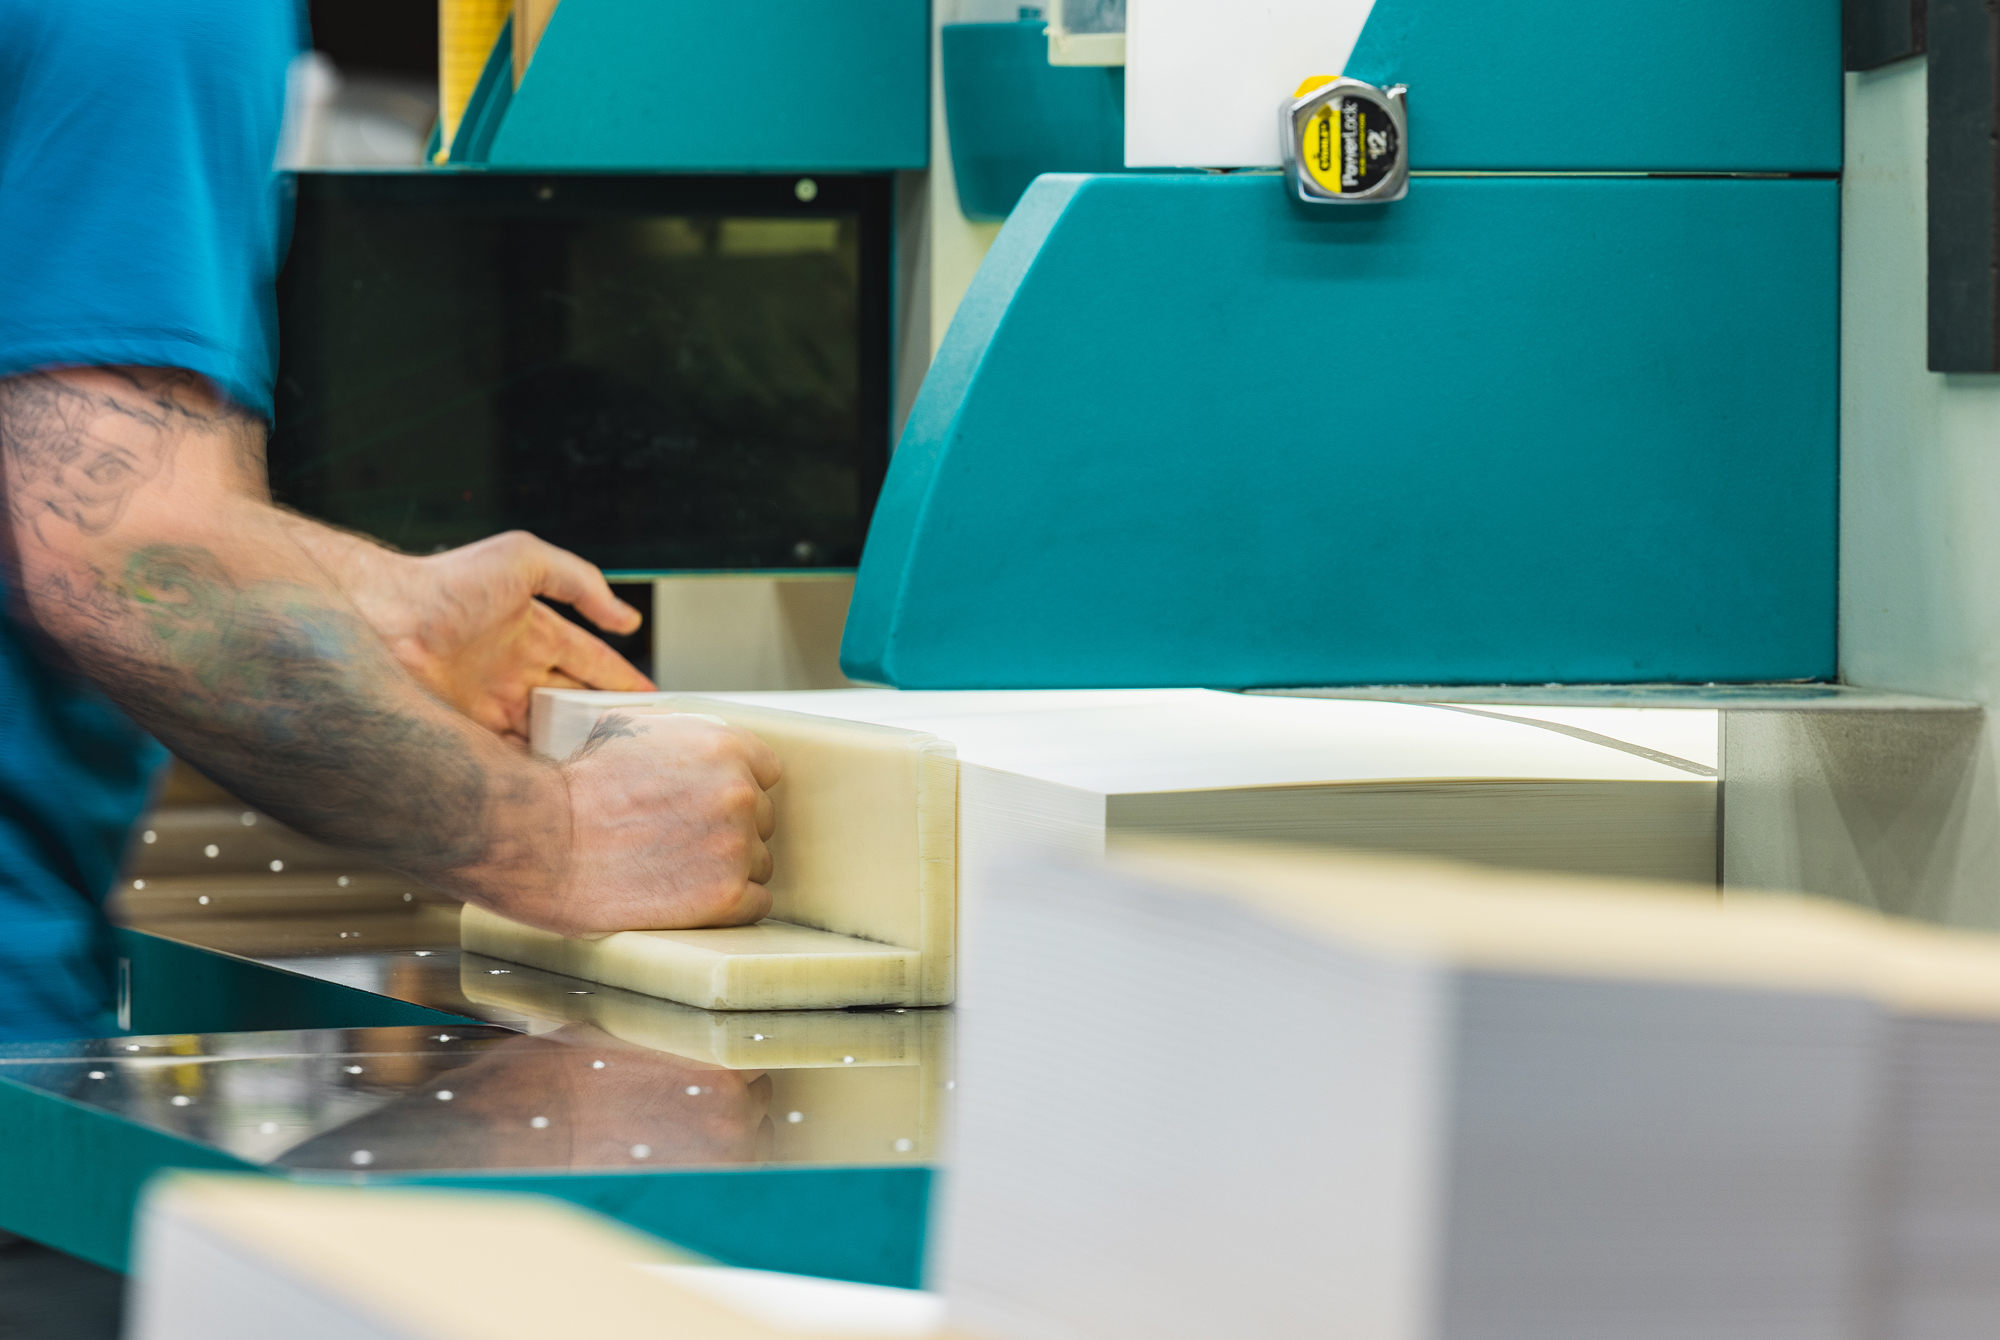
Trim size refers to the final dimensions of the printed piece after cutting.
For example:
- A business card may trim to 3.5” x 2”
- The file itself must include additional bleed space
Safe Margins
Important text and logos should remain inside safe margins to avoid accidental trimming.
Proper bleed and trim setup printing prevents costly finishing errors and improves final production accuracy.
Common Design Mistakes Businesses Make
Many businesses unknowingly submit files with technical problems that create production delays and printing issues.
Using Low-Resolution Images
Images copied from websites or screenshots are often too low quality for print production.
Incorrect Color Profiles
Submitting RGB artwork instead of CMYK can produce inaccurate colors.
Missing Bleed Areas
Designs without bleed frequently result in white borders after trimming.
Fonts Not Embedded or Outlined
Missing fonts may cause text replacement or formatting issues during production.
Overusing Transparency Effects
Certain effects may flatten incorrectly during prepress processing.
Improper File Formats
Commercial printers typically prefer:
- PDF/X files
- High-resolution PDFs
- AI or EPS files when requested
Submitting editable office documents or compressed images can reduce print quality significantly.
Ignoring Printer Specifications
Every print project may have slightly different technical requirements depending on:
- Material type
- Printing method
- Finishing options
- Press equipment
Carefully reviewing printer specifications helps avoid preventable production issues.
How Printers Correct Client Files Internally
Professional print providers often perform prepress corrections before production begins. However, these fixes can increase turnaround time and sometimes lead to additional charges.
Common internal corrections include:
- Converting RGB to CMYK
- Adding missing bleed
- Replacing missing fonts
- Adjusting image resolution
- Fixing alignment issues
- Flattening transparency
- Correcting file dimensions
While professional prepress teams can resolve many issues, excessive corrections create inefficiencies and increase the risk of errors.
Proper file preparation helps printers move projects into production faster and more accurately.
Step-by-Step Checklist for Print Submission
Before submitting files for commercial printing, businesses should complete the following checklist.
File Setup Checklist
Confirm Document Size
Ensure the file dimensions match the final trim specifications.
Add Bleed
Include the required bleed area on all sides.
Use CMYK Color Mode
Convert all artwork and images to CMYK.
Verify Image Resolution
Ensure all images are at least 300 DPI.
Outline or Embed Fonts
Prevent missing font problems during production.
Check Safe Margins
Keep critical text and logos away from trim edges.
Export as High-Quality PDF
Use print-quality PDF export settings.
Review Proof Carefully
Always inspect proofs for spelling, alignment, and color accuracy.
Following a structured submission process significantly reduces printing problems.
Why Professional Prepress Support Improves Outcomes
Professional prepress departments play a critical role in commercial print quality.
Experienced prepress teams help:
- Identify technical issues early
- Improve file accuracy
- Reduce production delays
- Prevent costly reprints
- Optimize print quality
Modern commercial printing involves complex workflows, materials, and finishing techniques that require technical expertise beyond basic graphic design.
Professional prepress support ensures files are optimized for:
- Press compatibility
- Color accuracy
- Material performance
- Finishing precision
For businesses producing large-volume marketing materials, catalogs, signage, packaging, or direct mail campaigns, strong prepress support becomes essential for maintaining consistent quality.
The Business Impact of Proper Print File Preparation
Proper file preparation does more than improve print quality — it also supports operational efficiency and cost control.
Well-prepared files help businesses:
- Reduce production delays
- Avoid unnecessary reprints
- Improve brand consistency
- Speed up approvals
- Lower material waste
- Improve customer perception
Poorly prepared files often lead to hidden costs that impact marketing budgets and project timelines.
Investing time in proper setup improves both print performance and long-term marketing effectiveness.
Conclusion: Reducing Cost and Delays Through Proper File Setup
Commercial printing success starts long before the presses begin running. Proper file preparation is essential for achieving accurate colors, sharp graphics, clean trimming, and professional final results.
By understanding key concepts like prepress file setup, print file resolution requirements, bleed and trim setup printing, and CMYK vs RGB printing, businesses can avoid common production mistakes and improve overall print quality.
A strong print ready files guide helps streamline communication between designers, marketers, and commercial printers while reducing delays, waste, and unnecessary expenses.
In today’s competitive business environment, professionally prepared print files are not just a technical requirement — they are an important part of delivering consistent, high-quality brand experiences through commercial printing.